How to Use a Manual Glass Cutting Table for Precise Cuts?
The use of a Manual Glass Cutting Table is essential for achieving precise cuts in glass manufacturing. According to a report by the Glass and Glazing Federation, about 75% of successful projects depend on accurate glass cutting techniques. This emphasizes the importance of an efficient cutting table in the industry.
Expert John Smith, a leading figure in the glass cutting field, states, "Precision in glass cutting significantly reduces waste and enhances the quality of the final product." His insights highlight the critical role of a Manual Glass Cutting Table in maintaining high standards. However, many professionals struggle with using these tools effectively.
Mistakes often arise from improper setup or lack of practice. These factors can lead to unsatisfactory results. Experienced users note that even slight misalignments can result in major discrepancies in dimensions. It’s crucial to take time to master the techniques involved in operating a Manual Glass Cutting Table. Setting realistic expectations and focusing on continuous improvement can greatly benefit craftsmen in their work.
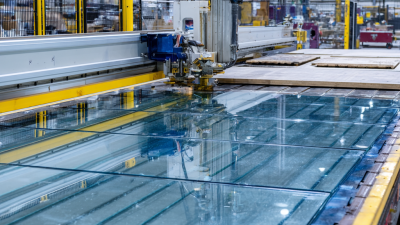
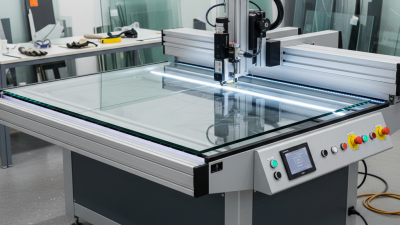
Understanding the Components of a Manual Glass Cutting Table
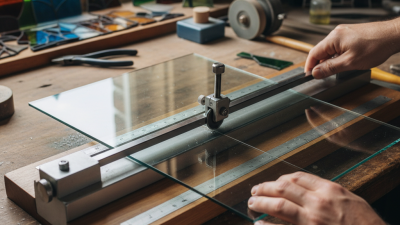
A manual glass cutting table consists of several key components. The cutting surface is typically made from a durable material. This surface provides a stable area to work on. It should prevent any slipping during operation. A straight edge is often attached or used separately. It assists in making straight cuts with precision. Having a reliable straight edge is crucial, as any deviation can ruin the glass.
The cutting tool is another essential part. This tool uses a sharp wheel to score the glass. The scoring process is delicate; too much pressure can lead to cracks. It requires a steady hand and practice. A cutting guide is often available. It helps ensure that the cuts align correctly. That said, not all guides fit every type of glass. It's important to test and validate each one.
Finally, the table may also include a measuring system. This system is vital for ensuring accurate dimensions. Miscalculations can lead to wasted materials. Despite the careful setup, mistakes do happen. It's necessary to reflect on these errors and learn from them. Each cut is a chance to improve and achieve better results next time.
Preparing the Workspace for Glass Cutting Projects
Creating a workspace for glass cutting requires attention to various details. A clean and organized environment minimizes risks and enhances focus. According to the Glass Association, 30% of accidents occur due to cluttered work areas. A dedicated table, free of distractions, is essential for precise cuts.
Lighting is another critical factor. Bright, even lighting helps identify imperfections in the glass surface. A workspace lacking adequate illumination can lead to miscalculations. Utilize overhead lights and additional task lighting to illuminate the cutting area. Make adjustments to avoid glare, which can distort your view.
Proper tools should be within arm's reach. This includes glass cutters, straight edges, and safety gear. The American Glass Institute notes that 25% of beginners often overlook safety glasses, which protect against potential injuries. Rushing through setup or forgetting to wear gear can lead to accidents. Taking a few extra minutes to prepare can save time and ensure safety.
How to Use a Manual Glass Cutting Table for Precise Cuts? - Preparing the Workspace for Glass Cutting Projects
| Step |
Description |
Tools Needed |
Safety Measures |
| 1 |
Clear and clean the workspace to remove any debris. |
Broom, dustpan |
Wear gloves to protect from sharp edges. |
| 2 |
Measure and mark the glass where the cut will be made. |
Measuring tape, marker |
Ensure proper eye protection is worn. |
| 3 |
Set the glass on the cutting table and secure it. |
Clamps |
Check that no loose items are nearby. |
| 4 |
Use the glass cutter to score along the marked line. |
Glass cutter |
Maintain a steady hand to avoid slips. |
| 5 |
Apply gentle pressure to break the glass along the scored line. |
Cutting pads |
Have a first aid kit nearby for emergencies. |
Step-by-Step Guide to Using the Manual Glass Cutting Table
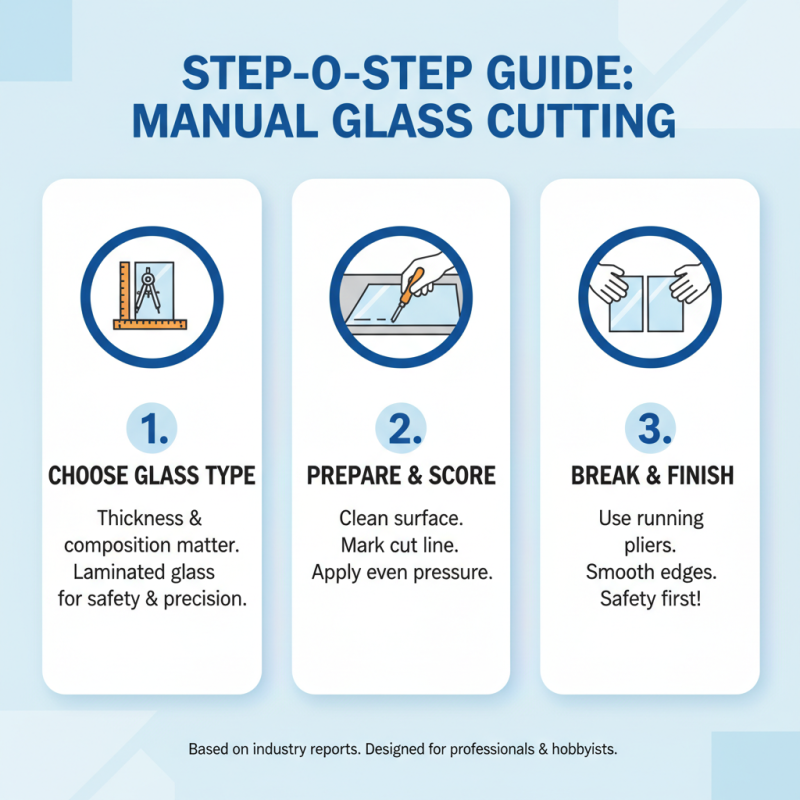
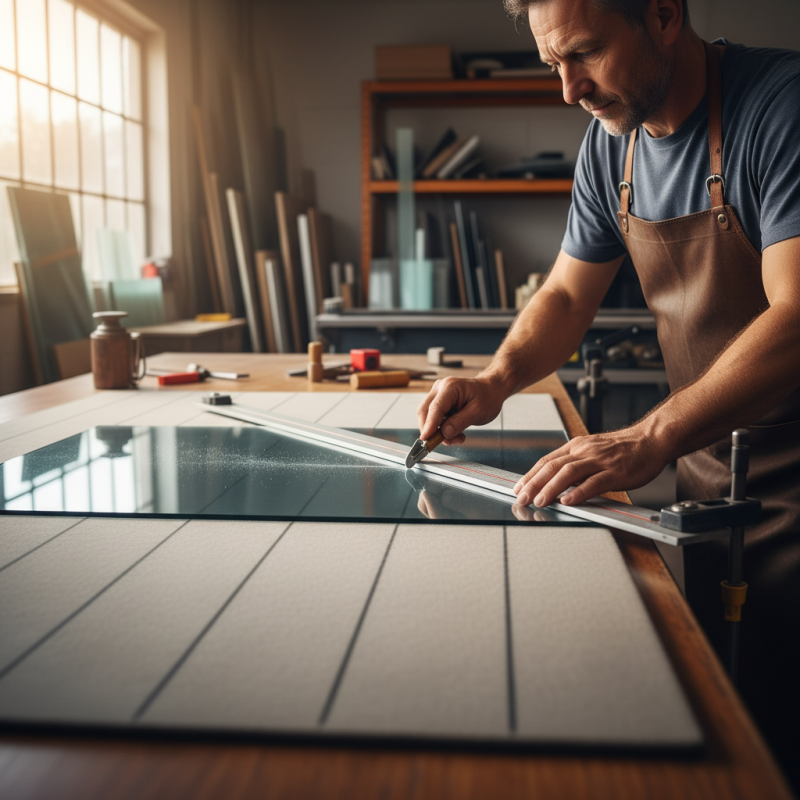
Using a manual glass cutting table effectively requires attention to detail. Start by selecting the right type of glass for your project. Different thicknesses and compositions can impact the ease of cutting. According to industry reports, using laminated glass can reduce breakage and improve safety, especially when precision is crucial.
Next, set up your workspace. Ensure the table is clean and well-lit. Position the glass securely on the cutting surface. A stable setup reduces errors. Your cutting tool should be sharp and appropriate for the glass type. Experts recommend changing the blade after every ten cuts to maintain efficiency. Remember, even slight imperfections in the blade can lead to flawed cuts.
As you begin cutting, apply steady pressure on the tool. A common mistake is applying too much force, which can lead to cracks. Precision is key here. Glass can sometimes be unpredictable. If a cut goes wrong, don’t rush to fix it. Reflect on what caused the issue. Learning from mistakes is vital in this craft. Overall, practice and patience will ultimately lead to better results.
Techniques for Achieving Accurate Cuts with the Cutting Tool
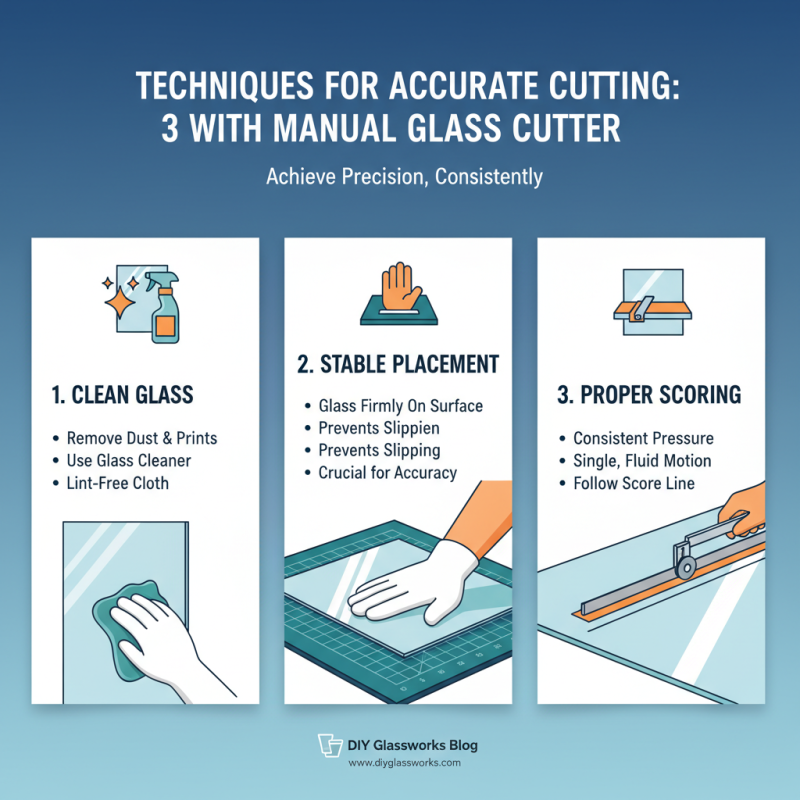
Using a manual glass cutting table can be daunting for beginners. However, with the right techniques, you can achieve precise cuts consistently. Start by ensuring that your glass is clean. Any dust or fingerprints can interfere with your cuts. Use a glass cleaner and a lint-free cloth. Place the glass firmly on the cutting surface. Stability is crucial for accuracy.
A common mistake is applying too much force while cutting. Instead, let the cutting tool do the work. Apply just enough pressure to score the glass, then follow it up with a quick, sharp snap. This snap action can take practice. Don’t be discouraged if your first cuts are less than perfect. Focus on your angle and pressure. Find what works best for you.
Tips: Always measure twice before drawing your cutting line. Use a fine-tipped marker or grease pencil for visibility. After each cut, check for any jagged edges. Smooth them down with a glass file. Reflection is key here. Evaluate your technique after each session. Adjust your approach as needed for better results. Over time, your confidence will grow, leading to more precise cuts.
Maintaining Your Manual Glass Cutting Table for Longevity
Maintaining a manual glass cutting table is essential for achieving precision. Regular upkeep not only extends the life of the equipment but also improves cut quality. According to industry reports, up to 30% of cutting inaccuracies stem from poorly maintained tools. Dust and debris can accumulate, affecting performance.
Cleaning should be a routine task. Wipe the surface with a soft cloth to remove glass particles. Neglect can lead to scratches and dull edges. Calibration is also crucial. Frequent checks can ensure the accuracy of measurements. A small misalignment can impact even simple cuts.
Lubrication of moving parts helps prevent rust. Use appropriate oil sparingly. Too much can attract dirt, causing complications. It’s crucial to inspect the table weekly. Pay attention to wear and tear. Regular maintenance can feel tedious, yet it's vital for efficient work. A well-cared-for glass cutting table can last significantly longer. Most issues arise from oversight, highlighting the need for diligence in upkeep.
Usage and Maintenance Insights of Manual Glass Cutting Tables
This chart illustrates key metrics related to the usage and maintenance of manual glass cutting tables. These include the average precision of cuts measured in millimeters, the recommended maintenance frequency in months, and the expected lifespan of the equipment in years. Proper understanding of these factors is crucial for achieving optimal performance and longevity of the device.